Story of a Floor Beam Pocket
The Story of A Floor Beam Pocket.
It was quite a few weekends ago when we started working on the floor beam pockets, the notches in the wood where the beams which the floor sits on go, I remember thinking I’m going to write a blog post on this. Just laying out what one stinking beam pocket takes to get finished. I am constantly blown away about the details it takes to do such simple tasks at the house. Most of the time Chase already understands what’s coming, which better prepares him for the amount of time needed for a task.
Me on the other hand am sometimes (a lot of times) clueless to what’s about to take place to get to the finished process. This was the case again for the floor beam pockets, so after working on them for a day and half, I decided it was good subject material. So here’s a step by step of the process for a floor beam pocket.
Step 1
Leveling must take place for all the beams first. This process took place when I was still up in the fork lift one day, but I know the process includes a level, a string line and a lot of walking around and going up and down the ladder checking the string line till its right all the way around.
Step 2
Measuring the current hole and measuring and marking how far down and wide areas will need to be cut to even up and straiten out the current hole from the old floor beams.
side note: we can’t use the old beams because they were badly charred by a house first in the 1970’s, they weren’t exposed at the time and just covered back up after the fire. With us exposing the logs we needed to replace them.
Step 3
Using a sawzall Chase cuts down the log to the depth it would need to be to level out the pocket. We are at this point cutting out a bigger hole than the floor beams going back in will be, but we have to make them some what uniform and the logs we will be putting back in won’t be as deep as the ones we took out.
Step 4
Chisel Time! Now we start to chisel out the log in-between the cuts. Chase is much better at this then me, but i’ve improved some lately. This is the most time consuming part because the logs themselves have knots and grain which doesn’t always go the way you wanted it too. We use the level to get a general idea to when its straight.
Step 5
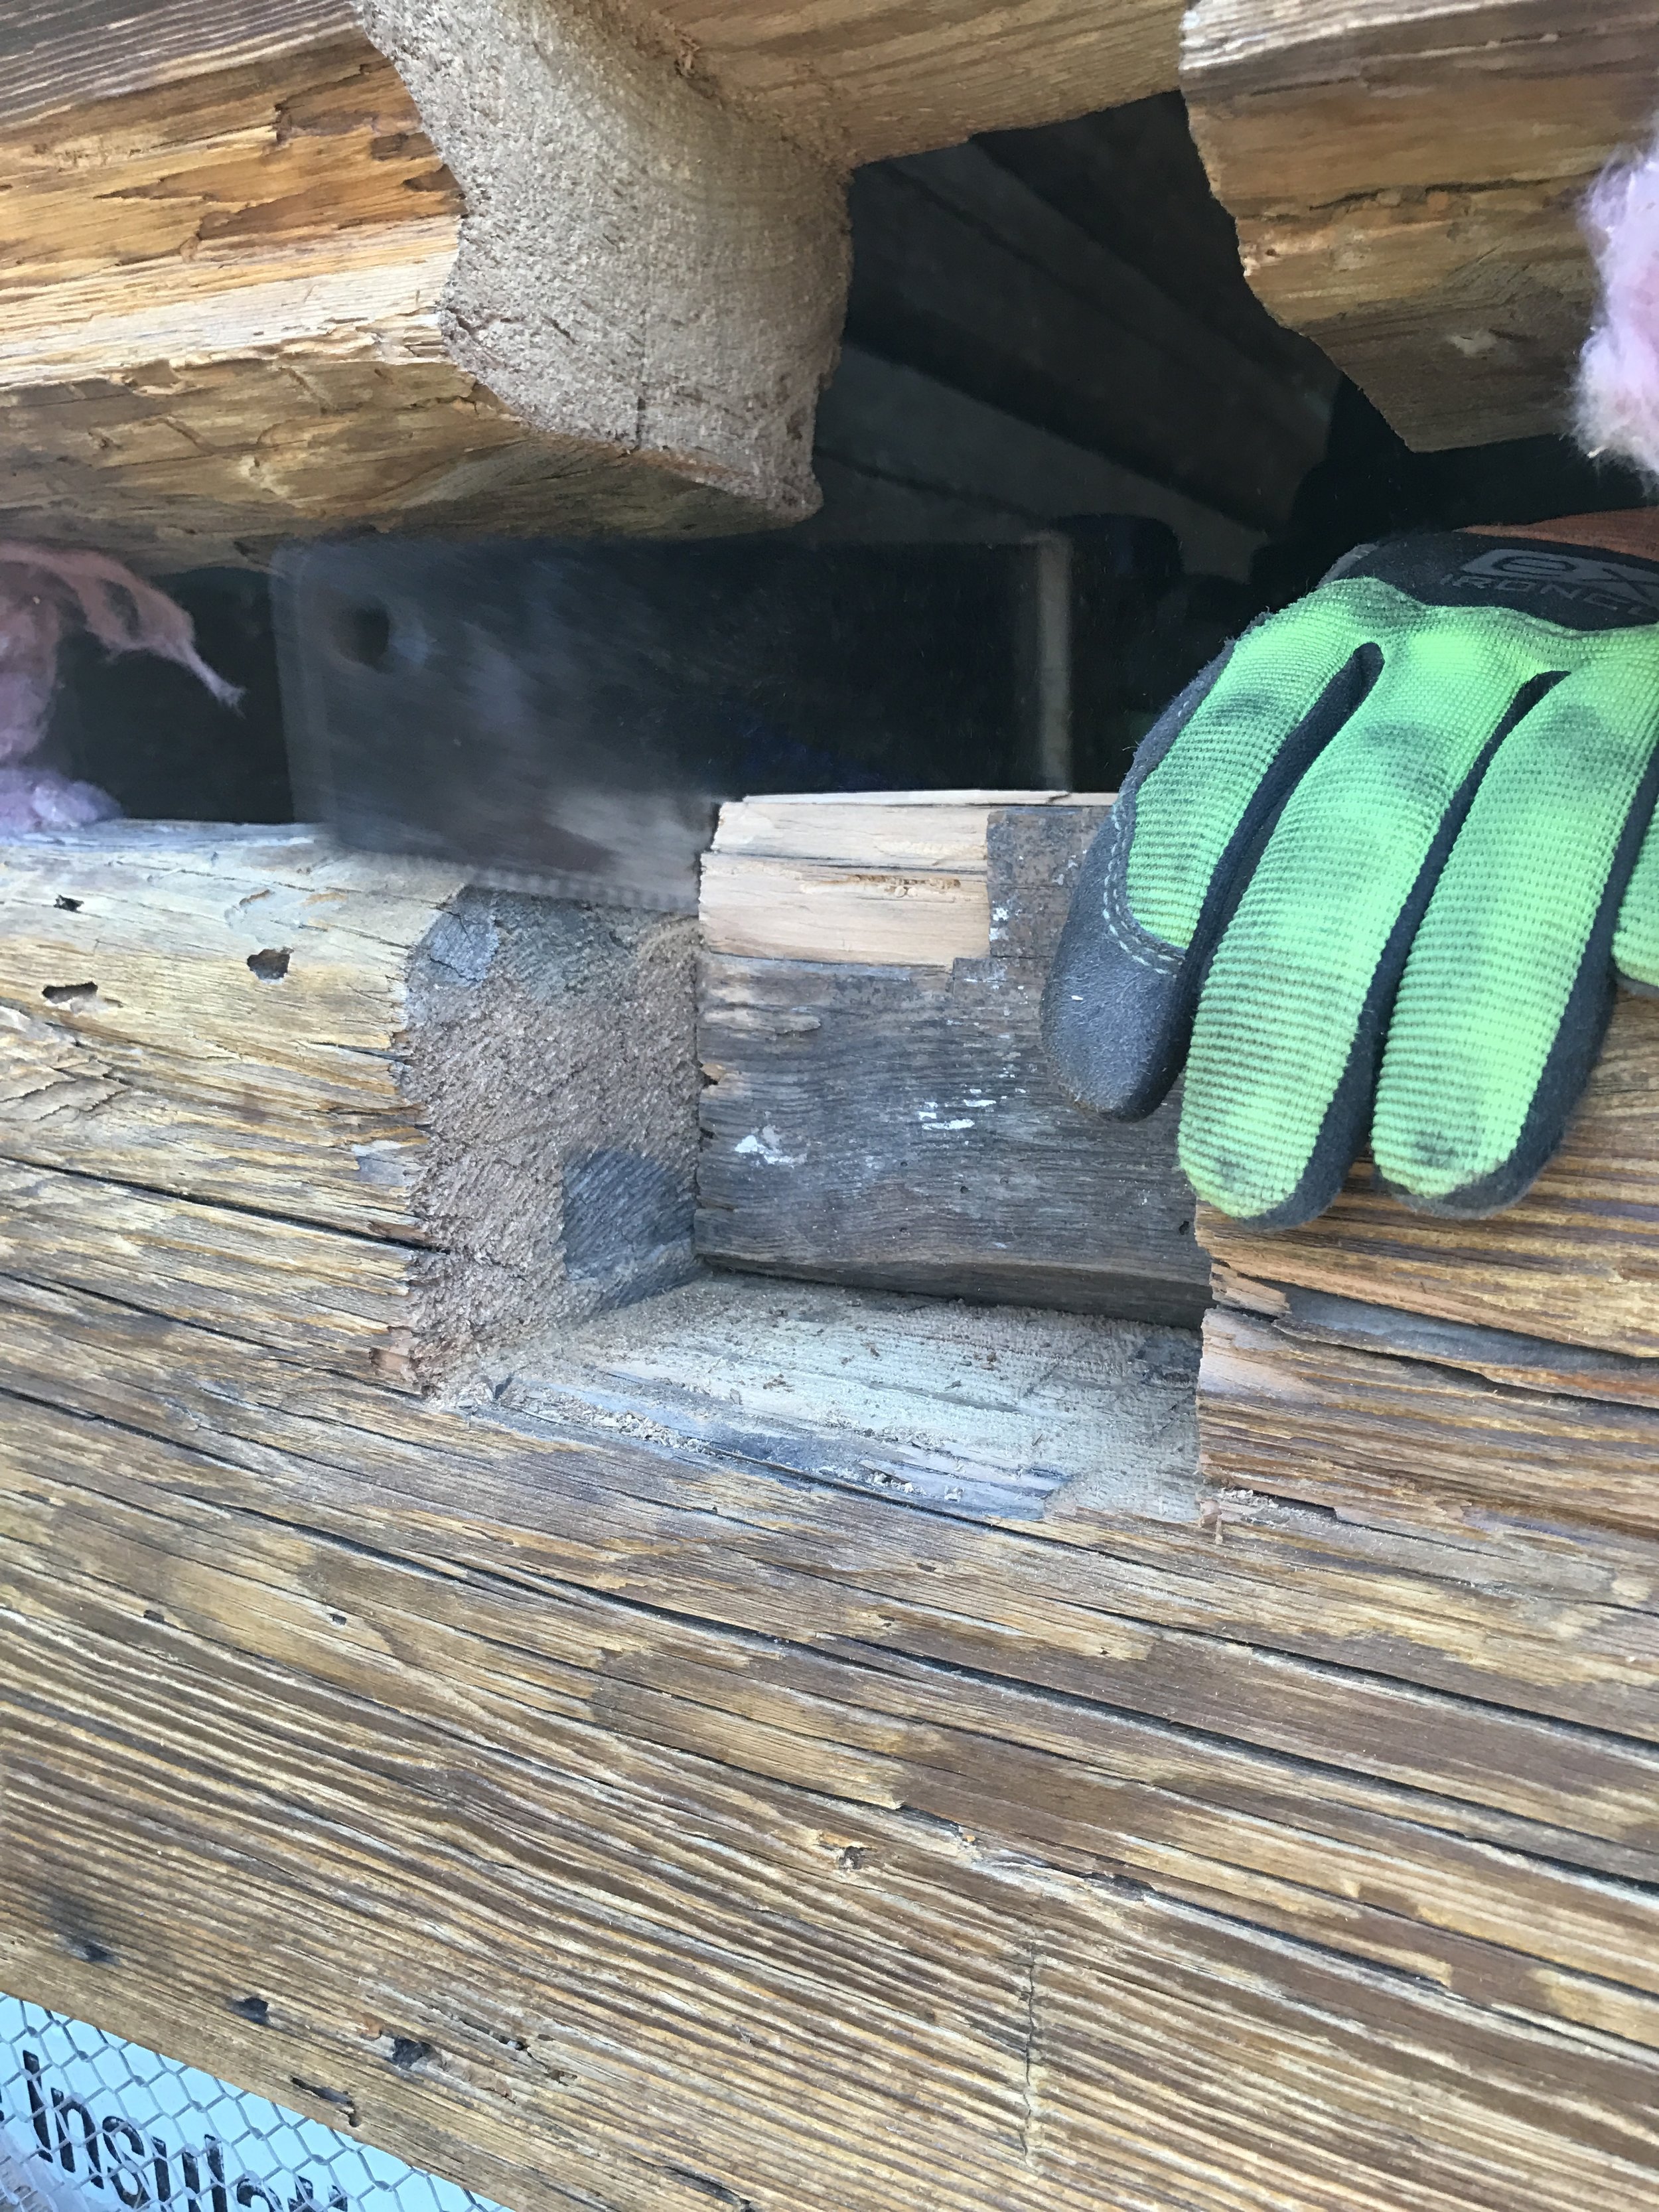
Now we use the hand saw to smooth out the edges of the notch to help get it as straight as possible but not too straight since we want to make sure the log piece will fit in and not have too many wide open gaps.
Step 6
Now its time to start trying to fit the spare piece of log back into the newly made hole. Doing this allows for us to have a even hole. Trying to make a square hole and cut into a hand hewn log isn’t the easiest feet so trying to fit a piece of wood into one is a challenge as well. We sometimes will have to pull out the handsaw and cut the places wheres it uneven.
Step 7
Once the piece is fit in we then need to silicone and screw in the log piece. We will fill in a layer of silicone and then start to tap in the log piece, wiping up excess silicone that pushes out the other end, and hammers the piece in. The saw will sometimes come out again for the edges on this part. Once in we draw the screws down.
Step 8
Now that hole is filled in, we have to make it fit in with the log in squeezed in. No two logs are hewed the same, so we again (Chase always does this) we use the chisel to take away small pieces at a time to try and fit it into the log, making it blend in as much as possible.
Step 9
Now that that’s in it’s time to cut it down again, for the true size of the beam were putting in. This is the step we're currently stuck at with these since we don't have the beams to put in, we know the general size we need but we're still in search of enough to fill our holes.
I tried to capture the steps as we went and get a snap of every one, but sometimes I missed something along the way. Guess that means I was working instead of taking pictures, which is hard to believe since I’m never in a picture at the house it seems ;).
I have about 10 items of improvement to catch up on for the blog to be up to date, but the truth is I’m not a very good blogger and when we make it back on Sunday nights from the house I usually am drained of all words and energy, so I say I’ll do that on Monday, and you see where that gets me. Oh well, I’ll keep posting when I can, and keep hacking away at trying to get to living at the house.


